How I created the perfect lighting at home
The Do-It-Yourself category of the Homey Blog is a place where employees can share some of their own projects. Some technical background might be required when following the instructions!
Upon moving to my new apartment, I faced a challenge: creating the perfect lighting setup. My wishes were not too straightforward, and the apartment was delivered with all the wiring and physical switches already in place. In short, an ideal Saturday-afternoon project! Despite my lack of experience, it was all doable and I couldn’t be more happier with the result.
The challenge
Combining regular, dimmable light bulbs with smart, colored lighting.
For one particular area in my home, I wanted a fixture with two smart RGB bulbs. So far so good, as these are available from Philips Hue, Innr, IKEA or others. However, I had some more wishes and circumstances:
- I wanted vintage-looking, dimmable bulbs in another part of the room
- Both light sets should be controllable through Homey at all times
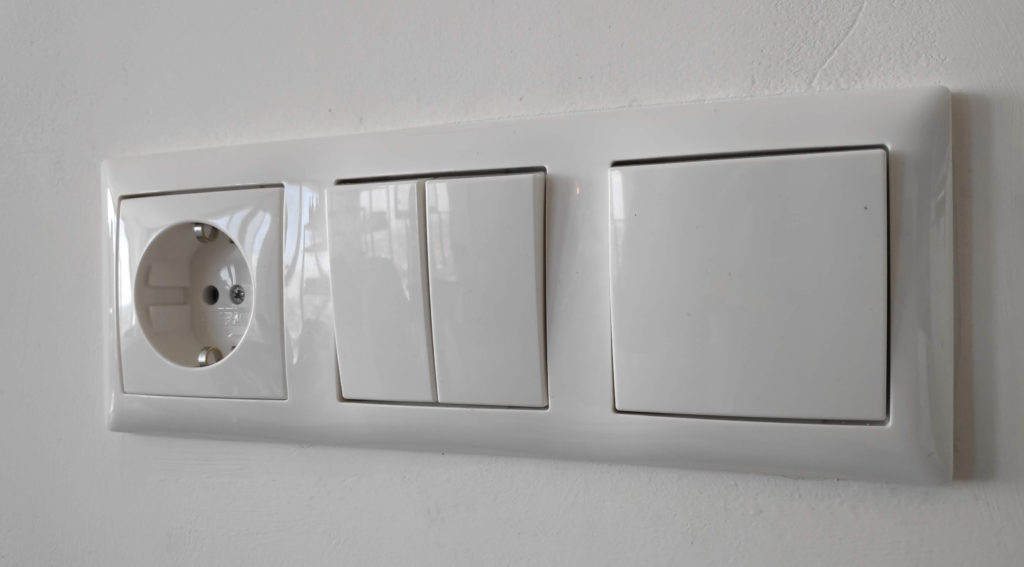
- Both light sets were physically controlled through two parts of one double switch
- Ideally, I could still use the physical switch for quick toggling of both light sets
The result
In the end, I am able to combine my two colored smart lights with one Fibaro Dimmer 2. With this setup, I fulfil all of my wishes: I can use my original, physical double switch to control both light sets individually. At the same time, I can always control them via Homey, no matter if the switch is set to on or off at the time. This also means I can always use them in any Flow I want. In other words, I’ve created the perfect light setup.
As you can see, my wishes are not extraordinary. Yet, the setup is a bit more complicated than just plugging in some smart lights and linking them to Homey. So how did I create my ultimate Smart Home?
Step one: requirements
All right, so I have two different light sets to control. Let’s start with the colored lighting. For smart light bulbs to work perfectly, they have to be always powered. The reason is simple: if the power is cut at the physical switch, there is no way you can turn the lights on through Homey: there’s just no power there.
This means that they have to be directly connected to a power source, for instance a fixture plugged into a power socket. If there is a switch, it has to be always-on. In my case there is a physical switch in the wall, so I needed this switch to be always on in some way.
The other lightbulbs are ordinary, dimmable light bulbs. I have picked a couple of those new, golden, incandescent-looking LED bulbs to give my home a bit of hipster vibe. Of course, these bulbs themselves are not smart, so I have to make them a little smart. As I want a neat, invisible solution, I concluded it had to be a built-in dimmer.
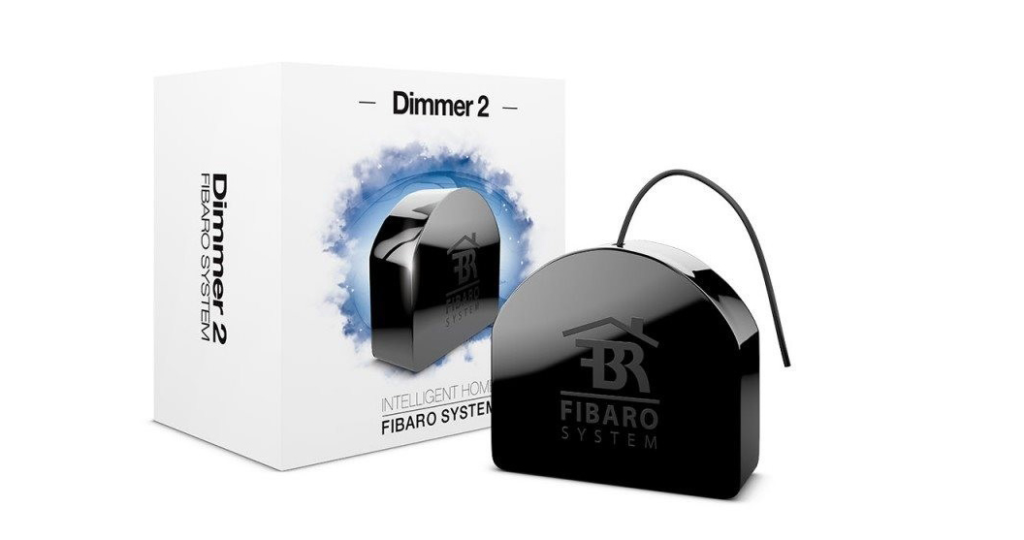
These nifty little devices fit behind your switch and make your lights dimmable through Homey. Best thing: you can even use the original switch as input. I have never installed them before, but let’s give it a try. Because I am not sure about my exact wiring, I opt for the Fibaro Dimmer 2. This module works on both 3-wire and 2-wire systems, so you can’t really go wrong.
Step two: installation
All right. The core requirements are clear and I’ve ordered the devices – let’s go! I start with installing the Fibaro Dimmer 2, which is going to dim and switch my hipster bulbs. At the same time, I have to find a way to make the other fixture always powered.
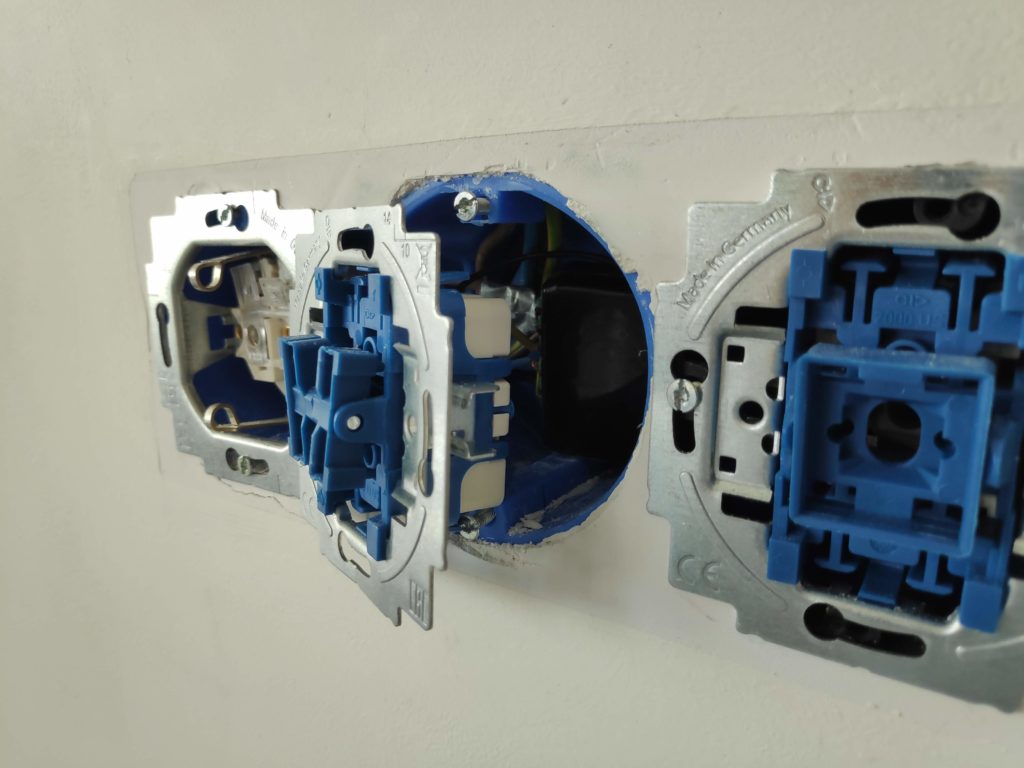
The steps are pretty straightforward. In short, I turn off the fuse, open the physical switch and install the dimmer module (exact steps can be found below).
On installation, I discover some interesting things:
- The Fibaro Dimmer 2 has two inputs, not just one
- I can directly connect the always-on fixture to the mains power, making it always-powered. At the same time, I connect the corresponding switch to the second input of the dimmer module.
- The dimmer module indeed fits neatly behind my switch – no need for drilling or anything.
I make the physical switch I want to use for my hipster bulbs input 1, and the other one input 2. I install the switch fronts again, and I’m ready to go. After powering on the fuse, I see three things that make me happy:
- The regular bulbs are changing brightness, meaning the dimmer module is directly calibrating.
- After the calibration is done, I’m able to switch the hipster lights through their original physical switch.
- No matter what I do to the other switch, the smart light bulbs stay on, so it's clear their fixture stays powered.
Step three: pairing
Pairing the devices to Homey is as simple as you would expect. Both the smart light bulbs and the dimmer module have excellent pairing instructions in the Homey app, so I am up in no time.
One small thing to note here: if you do not have a pulse dimmer, but rather a physical on/off switch, you should indicate that in the settings of the dimmer module in Homey.
Of course, I immediately start testing the setup. To my satisfaction, I can control my smart lights ánd easily dim my hipster bulbs from the Homey app. As a bonus, the regular lights even remember their last state when I toggle them off and on with the physical switch.
Step four: automation
And now the real fun begins! Well, after fulfilling my last wish of course. At this point, everything works as I wanted it, but there could still be one improvement: it would be completely ideal if the second physical switch would toggle my colored smart lights. Luckily, this is very easily managed in some simple Flows.
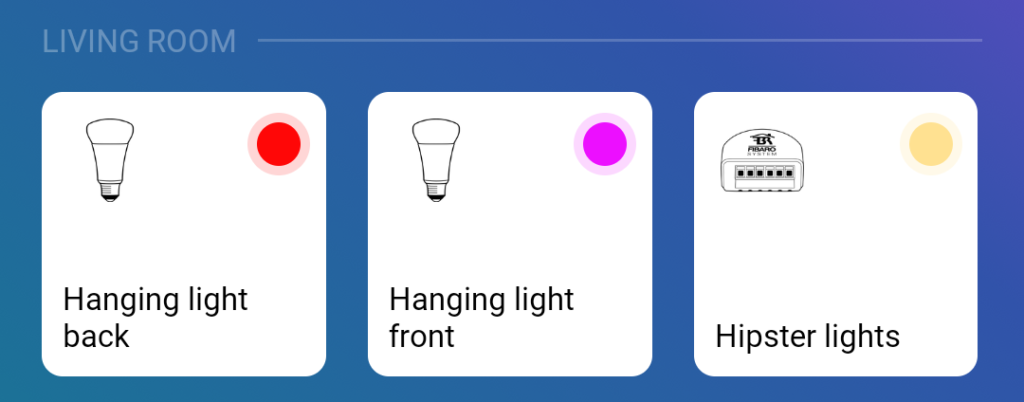
As I want the two smart bulbs to be easily toggled on or off together in all kinds of scenarios, I create a Flow to combine them:
WHEN this Flow is started THEN toggle smart bulb 1 AND toggle smart bulb 2
Now, I can activate this Flow with the module:
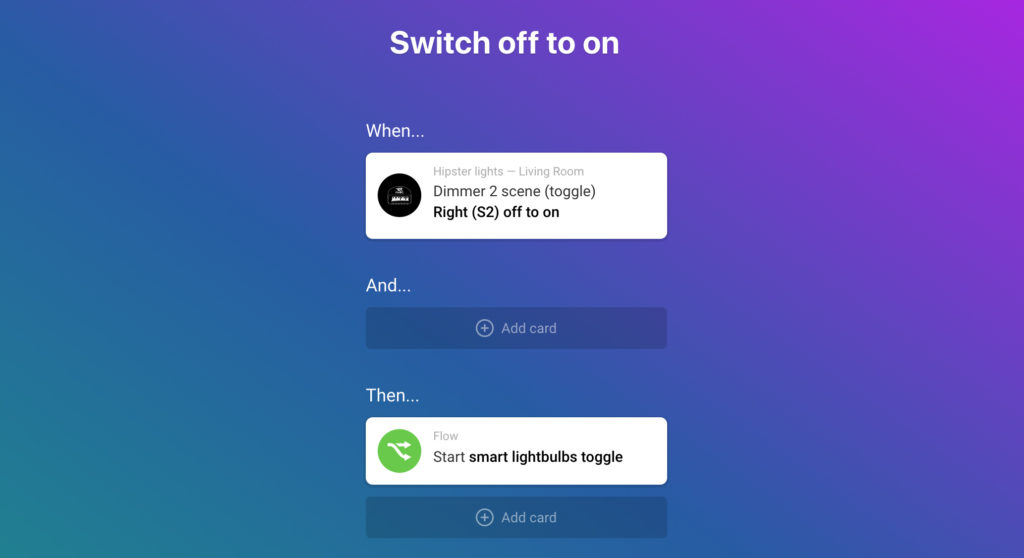
WHEN dimmer module S2 is switched from off to on THEN Start smart lightbulbs toggle
WHEN dimmer module S2 is switched from on to off THEN Start smart lightbulbs toggle
By using a toggle action instead of dedicated ‘on’ and ‘off’, one push on the physical switch is always enough to change the state of the two smart lightbulbs.
Wrap up
Now my setup is complete and perfect. Firstly, I can use Homey to control both different kinds of light sets. Next to that, I can use my existing physical switches to switch these lights too, without cutting power to them. And lastly, I can easily incorporate all my lighting in my Flows for waking up, leaving the home, watching TV, getting to bed, etc.!
The total damage? Just one Fibaro Dimmer 2 module, two smart colored light bulbs and not even two hours of my time (remember, I had never seen the inside of a switch mounting box, so you can easily be faster).
I’m really happy with the setup. Thanks to the versatility of Homey I was able to combine a Fibaro dimmer module with my favorite colored light bulbs. Now I can control my colored lights and my hipster bulbs through the Homey app, Flows, ánd the original physical switches!
Bonus: detailed installation
Complete step-by-step installation instructions.
Note: I found the original diagram of the Fibaro Dimmer 2 to be not 100% clear, so I have included an updated version below the steps.
- Turn off the fuse in your fuse box. Very simple, but pretty important to not get electrocuted. To make sure, I would recommend switching on the light before, so you know you got the right one.
- Screw open the panel that holds your switch. In my case, I needed to loosen one screw holding the left socket, after which I could pull the whole row of plastic off.
- Look at the wiring. Often, you have one live wire (often brown), and one or two (single vs. double switch) wires (black) going to your lighting points.
- Preparations 1: you need three or four (single vs. double switch) short pieces of wire. Strip them a bit from both sides.
- Preparations 2: attach the piece(s) of wire to S1, Sx and possibly S2. Use the last piece of wire to connect the Sx and N ports if you have a 2-wire installation, as shown on the diagram below.
- Remove the wiring from the original switch. Put the live wire (brown) in the L port on the dimmer. Put the light switch (black) wire of the regular, dimmable bulbs in the output of the dimmer (an arrow with a waveline).
- If you have a double switch and want the second light point to be always-powered, like I did, put the second black wire going to that light point also in the L port of the Fibaro module. This connects it to the live wire, giving it always power.
- Connect the wire coming from Sx to the L / Live port on the physical switch (were previously the brown wire was connected). Connect S1 and possibly S2 to the switch outputs.
- Put everything in the wall mount and close it again.
Although this might seem like quite some steps, I have found they are really easy to follow if you are actually doing this.
Dimmer 2 wiring diagram
As I found the original diagram of the Fibaro Dimmer 2 to be not 100% clear, I have created a version with some more oversight.