


Starting With Heat Pumps Without Hassle
Transitioning to a heat pump doesn't have to be a technical headache. By following a clear plan—from picking hardware to setting up your first smart automations with Homey—you can maximize savings without sacrificing comfort. The goal is a system that runs quietly and efficiently from day one.
1. Choosing the Right System for Your Home
The first step is deciding which hardware fits your house and heating needs. There are three main heat pump types to consider:
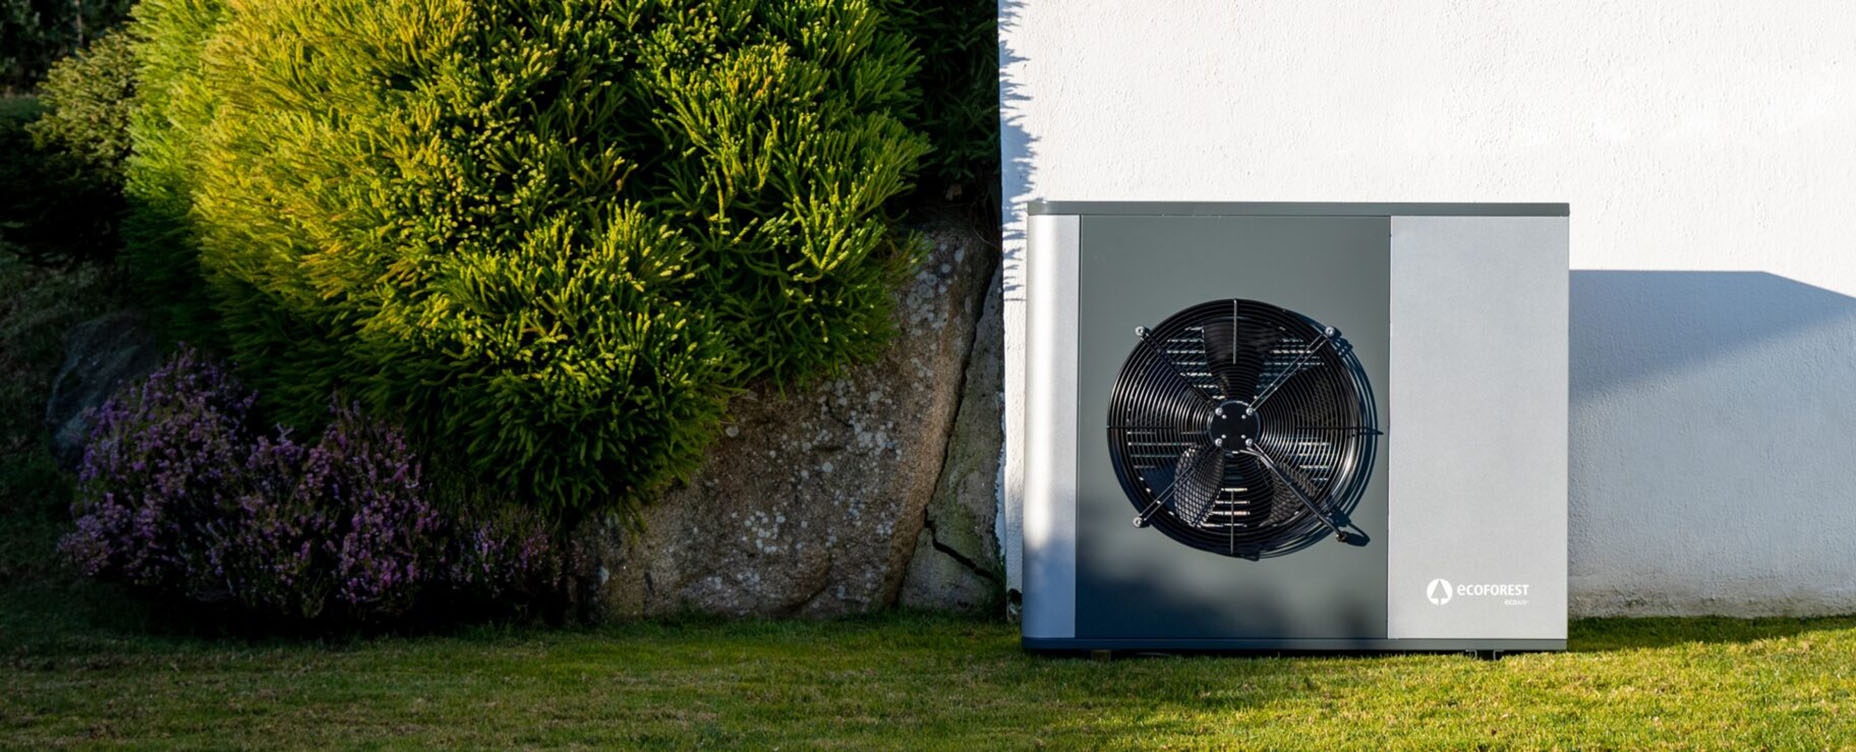
- Air-to-Water Monoblock: This is the most popular choice because the entire system sits in one outdoor unit. It is simpler to install since it only requires water pipes running into the house.
- Air-to-Water Split: This system has an outdoor unit connected to an indoor unit via refrigerant lines. It often allows for better modulation and is quieter, but it requires a certified technician for the gas connection.
- Hybrid System: This pairs a heat pump with your existing gas boiler. The heat pump handles the daily load, and the boiler kicks in only during extreme frost or for hot water. It is a great choice if your home isn't fully insulated yet.
For a quick decision, go hybrid or monoblock if you want to move quickly with minimal renovation. If you have renovation plans and low-temperature heating like underfloor heating or large radiators, consider an all-electric split or monoblock.
2. Verifying Low-Temperature Readiness
A heat pump is most efficient and works best when it doesn't have to work too hard. Check if your home has underfloor heating or large, low-temperature radiators (LTV). Classic small radiators often struggle to keep a room warm with the cooler water temperatures a heat pump produces.
Furthermore, improving your insulation in the roof or floors will also allow the system to run much more quietly and efficiently. Check your main connection for free circuits (often 16–20 A), as larger homes may require a 3-phase connection.
3. Calculating Capacity and the Bivalent Point
Size matters when it comes to efficiency. A unit that is too large will "short-cycle" by turning on and off constantly, while one that is too small will rely on expensive backup heaters. For hybrid systems, you must set a "bivalent point." This is the specific outdoor temperature where the gas boiler takes over because it becomes cheaper or more effective than the heat pump.
The ultimate goal is to go for a heat pump that can modulate deeply and achieve long, steady runtimes. A unit that is too large causes short cycling, while one that is too small relies on inefficient backup heating too often.
4. Planning the Hydraulic Layout and Buffer Tank
The plumbing layout is the highway for your heat. In many cases, adding a buffer tank is a smart move. This tank increases the total water volume in your system, which stabilizes the flow and prevents the heat pump from starting too often. A good rule of thumb is roughly 10–20 liters of buffer capacity for every kW of heat pump power to keep everything running smoothly.
5. Strategic Placement and Noise Control
Where you put the outdoor unit matters as much as the unit itself. To avoid bothering yourself or your neighbors, place the unit on vibration dampers and keep it away from bedroom windows. It needs plenty of "breathing room" for airflow, so avoid tucking it into tight corners. Homey can help here by triggering "Quiet Mode" during late-night hours to keep fan speeds low.
6. Electrical Requirements and Safety
Don't overlook the power needs of your new system. Most heat pumps require their own dedicated circuit in your electrical panel, usually 16–20A. Larger homes or high-power units might even require a three-phase connection. Always ensure a professional handles the wiring and configures essential safety settings like frost protection and maximum supply temperature limits.
7. Commissioning and Hydraulic Balancing
Once the hardware is in, balancing the water flow is the secret to a quiet house. This involves adjusting every radiator or floor loop so they all get the right amount of heat. If the system isn't balanced, you might hear hissing in the pipes or find that some rooms stay cold. A well-balanced system allows the heat pump to run at the lowest possible temperature.
8. Setting the Weather-Compensated Heating Curve
The "heating curve" tells the heat pump how hot the water should be based on the weather outside. It is best to start with a low curve and only raise it if the house feels chilly. For underfloor heating, you might start at 30°C when it is 10°C outside. By keeping this curve as low as possible with Homey, you drastically reduce your energy consumption.
9. Smart Domestic Hot Water Control
Heating water for showers is a high-energy task. Use Homey to schedule your hot water production during the cheapest hours of the night or when your solar panels are producing the most power. You should also schedule a weekly "legionella boost" during a low-price window to keep the system hygienic without spiking your utility bill.
10. Your First Smart Automations
Once the system is stable, you can use Homey to add clever layers of efficiency.
- Night Shift: Lower the setpoint by 1°C after 10:00 PM to save energy while you sleep.
- Preheating: Tell Homey to bump the temperature by 0.5°C if solar production is high.
- Presence: Use geofencing to start warming the living room 45 minutes before you arrive.
- Coming Home: Use a smart Flow to restore your comfort setpoint as soon as the first person leaves work.
- Leaving Home: Tell Homey to drop the target temperature by 2°C the moment the last person leaves the house to prevent heating an empty building.
Conclusion
With this step-by-step plan, you can start without the hassle: you get a suitable system that is neatly balanced, running on a calm heating curve, and managed by simple automations in Homey. This way, you get comfort and efficiency from your heat pump straight away—from day one.
FAQ
Do I always have to install a buffer tank?
Not always, but if you have many zones with valves, notice short cycles, or have a heat pump with high minimum power, a buffer tank prevents short cycling and increases comfort. A guideline is often 10–20 liters per kW, depending on the situation.
Is hybrid a waste if I want to go all-electric later?
No. Hybrid is a pragmatic intermediate step. You can improve your emission system and insulation now and phase out the boiler later. Especially in existing buildings, this is often the start with the least friction.
My radiators are “too small” for low temperatures. What now?
You need to increase emission capacity. You can install larger low-temperature radiators or fan convectors, then lower the supply temperature step by step. Often a mix works well: living zone on low-temperature floor heating, and bedrooms with improved radiators.
How do I prevent short cycling?
Ensure sufficient water volume (via a buffer tank), set minimum runtime/off-times, limit simultaneous heat demand, and calibrate the heating curve so you aren’t heating too hot. A stable ΔT is a good sign.
When do I produce domestic hot water most efficiently?
During low hourly prices or when your PV production is abundant. Schedule the legionella boost in such a cheap window. Keep the hot water temperature practical, not structurally too high.
Does preheating make sense if it’s colder outside at night?
Only if the price is much lower or if you would otherwise hit expensive peak hours. Since night means a lower COP, limit your setpoint steps and keep the supply temperature low to avoid waste.
How do I best set the heating curve?
Start low and observe for 3–5 days. If you just miss comfort, make a small step up (parallel shift). If you see overshoot or short cycling, step down or flatten the slope slightly. Always work in small steps and keep a log.
