Control Button + panels
The app supports the Button + hardware.
To Setup the app:
3. Install the app on your Homey.
4. Open the Button + App settings / Configuration page in Homey.
5. Make sure the Allow update of Button+ configuration is ticked.
There are two types of configurations, button bar and Display, and each currently has 20 slots.
The button bar configurations are shown when the first drop list shows button bar Configurations and the Display configurations are shown by changing the drop list to Display Configurations.
Setting up button bar Configurations:
1. Select button bar Configurations from the first drop list.
2. Select a configuration number to edit (we can assign any of the configurations to Button+ Panels later).
3. Under Left button bar are the options for the button on the left side of the Button+ button bar.
4. Select a Homey device that you want to control from the drop list (The panels only support boolean capabilities but filtering the lists is still to be implemented)
5. Select a capability from the drop list.
6. Enter a Top Label (optional). This is displayed in green on the buttons display.
7. Enter a Label. This is shown in white and a bigger font on the buttons display, just below the Top Text.
8. Repeat the steps for the Right button bar.
9. Click on the Save Configurations button. Still to do is add a prompt if you forget to save and close the window.
Setting up Display Configurations:
1. Select Display Configurations from the first drop list.
2. Select a configuration number to edit (we can assign any of the configurations to Button+ Display later).
3. Click on New Display Item.
4. Select a Device or "Variable"
5. Select a Capability or Variable.
6. Edit the Label if required.
7. Edit the Units if required. (this is only text and does not change the values that are sent to the display).
8. Enter the X and Y positions. These are a percentage of the display width / height.
9. Enter a width. Again this is a percentage of the display width.
10. Enter a Rounding value. 0 = whole numbers (integer), 1 is 1 decimal place, etc.
11. Select a Font Size from the list.
12. Add more display items as required.
13. Click on Save Configurations.
Adding a device to Homey:
1. Select the New Device option in Homey.
2. Select Button button bar.
3. Click on Connect.
4. You should then see the device listed, so select it and continue. (The app currently uses the Name found under the General settings to identify the button bar). If the Button + is not found then you can try to add it manually by selecting the Manual option and entering the IP address.
5. The device will be added to Homey.
Using the Homey device:
1. Open the device in Homey.
2. Open the second tab to view a list of configurations for the display and each connector.
3. Select the Display or a Connector number from the top drop list (Homey currently draws the Configuration list over the drop list, so it can be a pain to select what you want).
4. Select a Configuration number to apply to the Display / button bar connector.
5. The configuration is uploaded to the simulator, but you need to refresh the simulator to make it take affect. There is a button to the right of the Virtual Id to refresh the page.
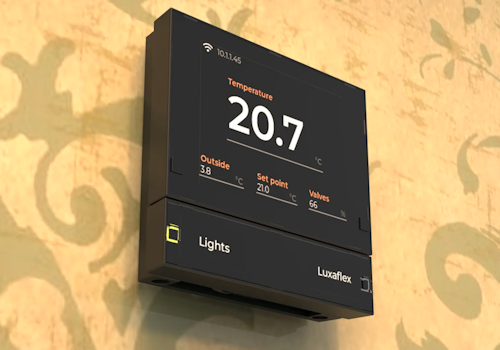
6. You should now see the information you selected in the configuration displayed on the button bar.
7. You can click on the buttons in the mini displays to toggle the capability in Homey.
The app has a built n MQTT broker, so no setup will be required for that. However, it is possible to add one or more external MQTT brokers in the app settings page.
Lire plus ›