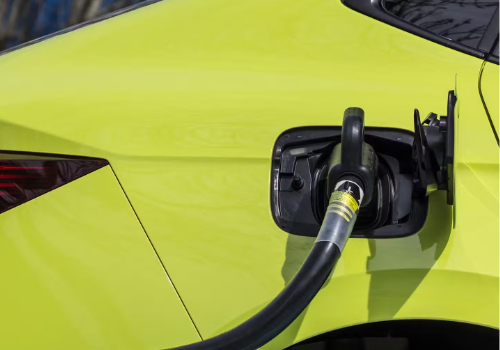
Bring your Smart EVSE-3 into Homey as a fully featured EV charger. This app
connects to your MQTT broker, subscribes to the topics your Smart EVSE already
publishes, and turns them into a rich Homey device you can view, control and
automate - no cloud, no polling, no extra hardware.
Everything stays on your local network: Homey talks to the broker, the broker
talks to the Smart EVSE. You bring your own MQTT server (Mosquitto, the one
built into Home Assistant, an add-on on your NAS - anything works).
What you get
- Native Homey EV charger: start and stop charging, set the target power,
and flip between the Smart EVSE Normal, Smart, Solar, Pause and Off modes
straight from the device tile.
- Live measurements for charge power, energy charged this session, total
energy charged, mains and EV currents per phase, mains import/export, and
home battery current.
- Charging state that actually reflects reality: "Charging", "Connected",
"Charging Stopped" and friends, so the built-in "Started/Stopped charging"
flow cards fire at the right moment.
- RFID support: a flow trigger when a card is swiped and an action to
simulate a swipe from a flow.
- LED colour configuration for each mode (Off, Normal, Smart, Solar, Custom).
- Live availability via MQTT LWT: the device turns unavailable the moment the
Smart EVSE drops off the network, and comes back automatically.
- Diagnostics at a glance: Wi-Fi SSID/BSSID/RSSI, ESP temperature, uptime,
OCPP status and load balancing role.
Setup
1. In the Smart EVSE web UI, enable MQTT and point it at your broker. Note the
topic prefix it uses (for example SmartEVSE/1234).
2. In Homey: Settings -> Apps -> Smart EVSE via MQTT -> Configure and enter
your broker details (host, port, protocol, optional username/password).
3. Add Device -> Smart EVSE and fill in the same topic prefix. Homey will start
receiving values immediately.
You can update the shared broker connection later from the app's Configure
page. To change one charger's topic prefix without re-pairing it, open that
device's Advanced Settings. Each paired charger keeps its own topic prefix.
Works with any Smart EVSE-3 firmware that has MQTT enabled.
자세히 읽기 ›